ROS 2 に関して筆者は以下の本で学びました。ROS1 との比較を含めかなりわかりやすく ROS 2 について書かれており、おすすめの一冊です。
前回の記事で、nav2_bringup を模倣した custom_nav2_bringup という ROS 2 のパッケージを作成し、nav2 の設定をカスタマイズする準備を整えました。今回はマップファイルを自ら作成し、そのマップ上で TurtleBot シミュレーションを動かしてみます。
過去記事
- Nav2 講座 1: docker 上に ROS 2 環境を構築し TurtleBot simulation を動かす
- Nav2 講座 2: Rust で ROS 2 ノードを作る: footprint の動的変更
- Nav2 講座 3: nav2_bringup の設定をカスタマイズする準備
PC 環境
- Thinkpad X1 Intel Core i7
- Ubuntu 24.04
事前準備
以下のコマンドを事前に実行しておいてください。「地図作成」節と「launch ファイルの変更」節を飛ばして「TurtleBot シミュレーションの実行」節から実施したい場合は、article_7566_prep ブランチの代わりに article_7566_ready ブランチに checkout してください。
$ git clone git@github.com:remmaTech12/ros2_nav2.git
$ cd ros2_nav2
$ git checkout article_7566_prep
$ docker compose up -d --build
$ xhost +
$ docker exec -it ros2_nav2 bash
/workspace$ ros2 launch turtlebot3_gazebo turtlebot3_world.launch.py  ## Takes about 5 min.
最後のコマンドの実行には 5 分程度かかります。最後のコマンドの実行により、以下が表示されたら準備完了です。
地図作成
.pgm
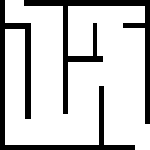
以下の地図 maze.png をダウンロードして custom_nav2_bringup/maps ディレクトリに保存してください。GIMP 等でてきとうに .pgm ファイルを作成してもいいです。以下の画像のサイズは 150 x 150 px です。
.yaml
さらに、同ディレクトリに maze.yaml ファイルを作成し、以下を記載して保存します。
image: maze.pgm
resolution: 0.050000
origin: [-3.75, -3.75, 0.0]
negate: 0
occupied_thresh: 0.65
free_thresh: 0.196
pgm ファイルが 150 x 150 px で解像度が 0.05 [m/px] なので、150 x 0.05 = 3.75 [m] だけマップ画像を x, y 方向ともにずらせばマップの原点を RViz の座標系の原点と一致させることができます。
.world
以下の “.pgm ファイルを .world ファイルに変換するスクリプト” convert_pgm_to_world.py を custom_nav2_bringup/maps ディレクトリに配置し、実行します。
import numpy as np
from PIL import Image

input_file  = "maze.pgm"
output_file = "maze.world"
image = Image.open(input_file).convert("L")
image = np.array(image, dtype=np.uint8)

resolution = 0.05  # [m/px]: x [m/px] means x meter for 1 px.
width, height = image.shape

# Header part of .world file
world_template_list = ["""<?xml version="1.0" ?>
<sdf version="1.6">
  <world name="maze">
    <include>
      <uri>model://ground_plane</uri>
    </include>
    <include>
      <uri>model://sun</uri>
    </include>

    <gui fullscreen='0'>
      <camera name='user_camera'>
        <pose frame=''>0 0 10 0 1.570796 0</pose>
        <view_controller>orbit</view_controller>
        <projection_type>perspective</projection_type>
      </camera>
    </gui>
"""]

wall_height = 1.0

# Convert a consecutive lateral line to a wall
for x in range(width):
    y = 0
    while y < height:
        black_threshold = 128
        if image[x, y] < black_threshold:  # Judge black parts
            start_y = y
            # Search for consecutive black parts
            while y < height and image[x, y] < black_threshold:
                y += 1
            end_y = y

            wall_x = ((start_y + end_y - 1) / 2 - height / 2) * resolution
            wall_y = (width / 2 - x) * resolution
            wall_length = (end_y - start_y) * resolution
            world_template_list.append(f"""
    <model name="wall_{start_y}_{x}">
      <static>true</static>
      <pose>{wall_x} {wall_y} {wall_height/2} 0 0 0</pose>
      <link name="link">
        <collision name="collision">
          <geometry>
            <box>
              <size>{wall_length} {resolution} {wall_height}</size>
            </box>
          </geometry>
        </collision>
        <visual name="visual">
          <geometry>
            <box>
              <size>{wall_length} {resolution} {wall_height}</size>
            </box>
          </geometry>
        </visual>
      </link>
    </model>
""")
        y += 1

# Footer part of .world file
world_template_list.append("""
  </world>
</sdf>
""")

# Save as .world file
with open("../worlds/" + output_file, "w") as f:
    f.write("".join(world_template_list))

print(output_file + " has been created!!")
上記スクリプトの処理の大まかな流れは以下のようになっています。
- custom_nav2_bringup/maps/maze.pgm ファイル読み込む
- ground_plane, sun, カメラの位置姿勢の基本的な設定を Header 部分に書き込む
- 壁(ロボットが障害物と認識する箇所、.pgm ファイルの黒い部分)の高さを 1m に設定する
- maze.pgm ファイルを走査して連続する黒い部分を見つけ出し、黒い部分の座標 / 大きさの情報を書き込む
- maze.world ファイル作成の際、+y -> +x, -x -> +y の座標変換と中心座標の調整を行っている
- Footer 部分を書き込む
- custom_nav2_bringup/worlds/maze.world ファイルを書き込む
下記のコマンドでスクリプトを実行します。
$ python3 convert_pgm_to_world.py上記の作業により、RViz で使う .pgm, .yaml ファイルと Gazebo で使う .world ファイルの準備が整いました。
launch ファイルの変更
上記の地図の準備を整えた状態で、launch/tb3_simulation_launch.py ファイルに以下の変更を加えます。
     # Create the launch configuration variables
@@ -49,8 +49,8 @@ def generate_launch_description():
     use_rviz = LaunchConfiguration('use_rviz')
     headless = LaunchConfiguration('headless')
     world = LaunchConfiguration('world')
-    pose = {'x': LaunchConfiguration('x_pose', default='-2.00'),
-            'y': LaunchConfiguration('y_pose', default='-0.50'),
+    pose = {'x': LaunchConfiguration('x_pose', default='0.00'),
+            'y': LaunchConfiguration('y_pose', default='0.00'),
             'z': LaunchConfiguration('z_pose', default='0.01'),
             'R': LaunchConfiguration('roll', default='0.00'),
             'P': LaunchConfiguration('pitch', default='0.00'),
@@ -86,7 +86,7 @@ def generate_launch_description():
     declare_map_yaml_cmd = DeclareLaunchArgument(
         'map',
         default_value=os.path.join(
-            bringup_dir, 'maps', 'turtlebot3_world.yaml'),
+            bringup_dir, 'maps', 'maze.yaml'),
         description='Full path to map file to load')

     declare_use_sim_time_cmd = DeclareLaunchArgument(
@@ -143,7 +143,7 @@ def generate_launch_description():
         #              https://github.com/ROBOTIS-GIT/turtlebot3_simulations/issues/91
         # default_value=os.path.join(get_package_share_directory('turtlebot3_gazebo'),
         # worlds/turtlebot3_worlds/waffle.model')
-        default_value=os.path.join(bringup_dir, 'worlds', 'world_only.model'),
+ default_value=os.path.join(bringup_dir, 'worlds', 'maze.world'),- ロボットの開始位置の座標を (-2.0, -0.5) から原点 (0.0, 0.0) にしている
- RViz で使うマップ情報を turtlebot3_world.yaml から maze.yaml に変更
- Gazebo で使うマップ情報を world_only.model から maze.world に変更
TurtleBot シミュレーションの実行
以下のコマンドで、TurtleBot シミュレーションを実行します。
$ docker exec -it ros2_nav2 bash
/workspace$ colcon build
/workspace$ source install/setup.bash
/workspace$ ros2 launch custom_nav2_bringup tb3_simulation_launch.py headless:=False
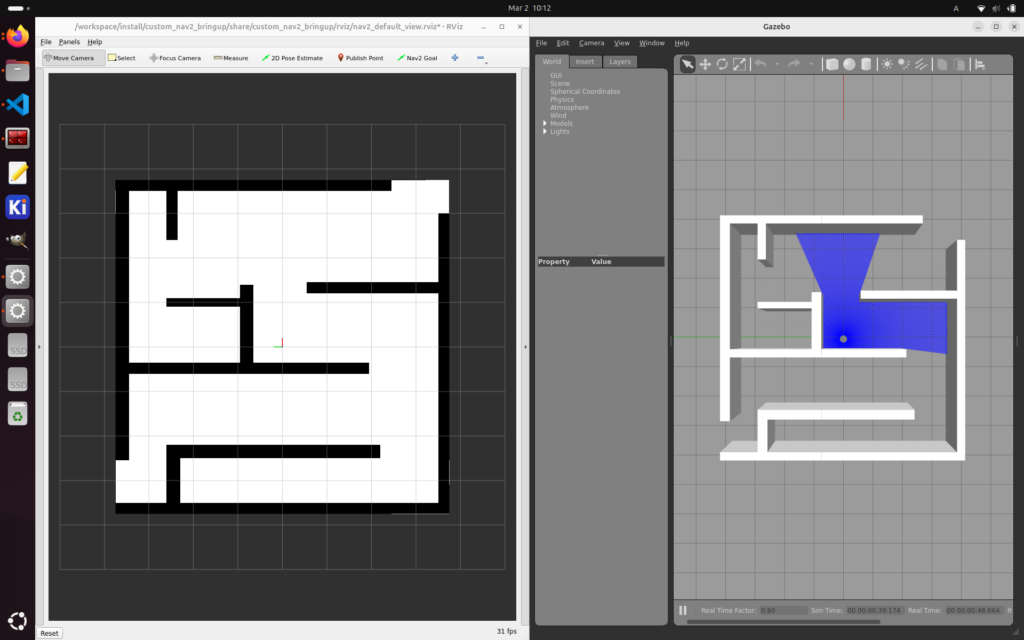
以下が表示されます。
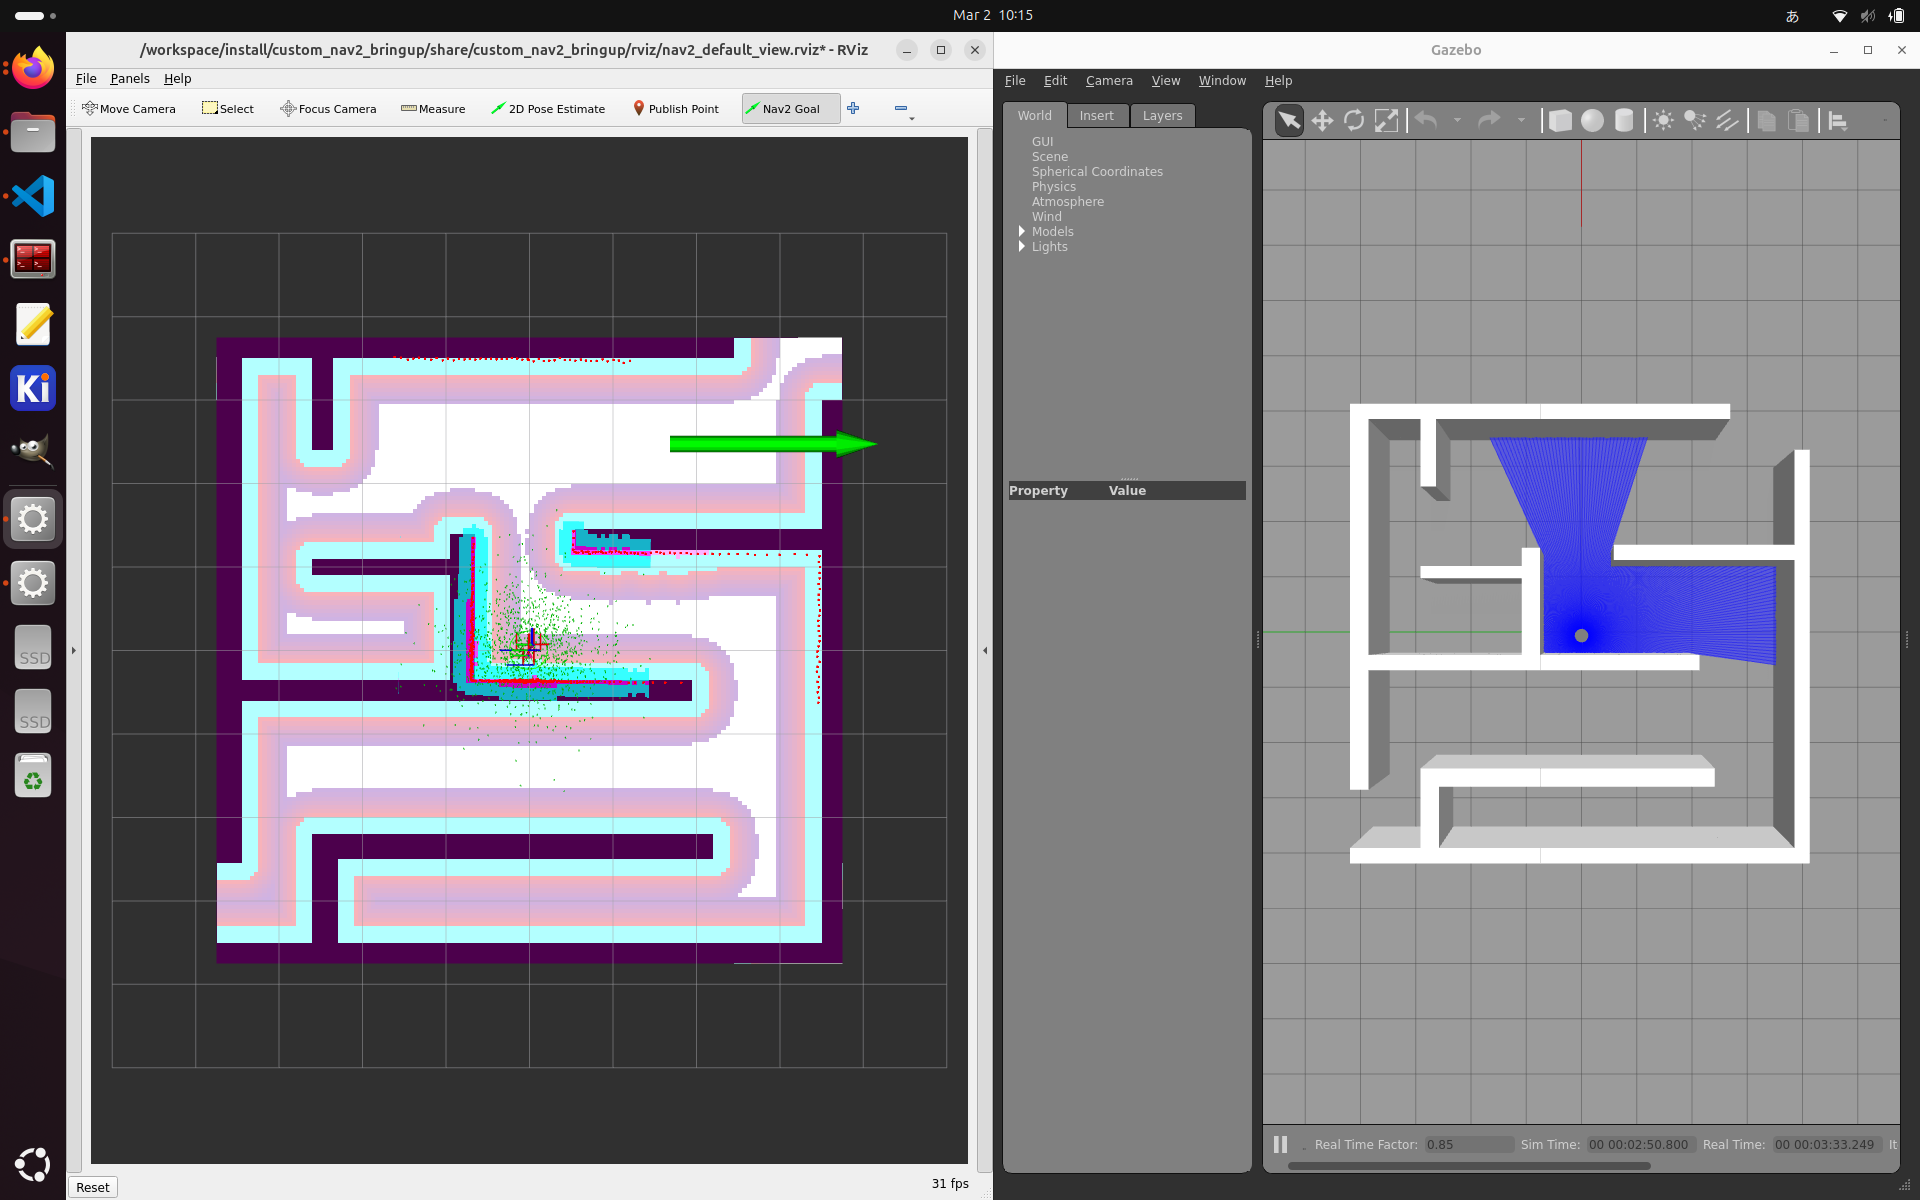
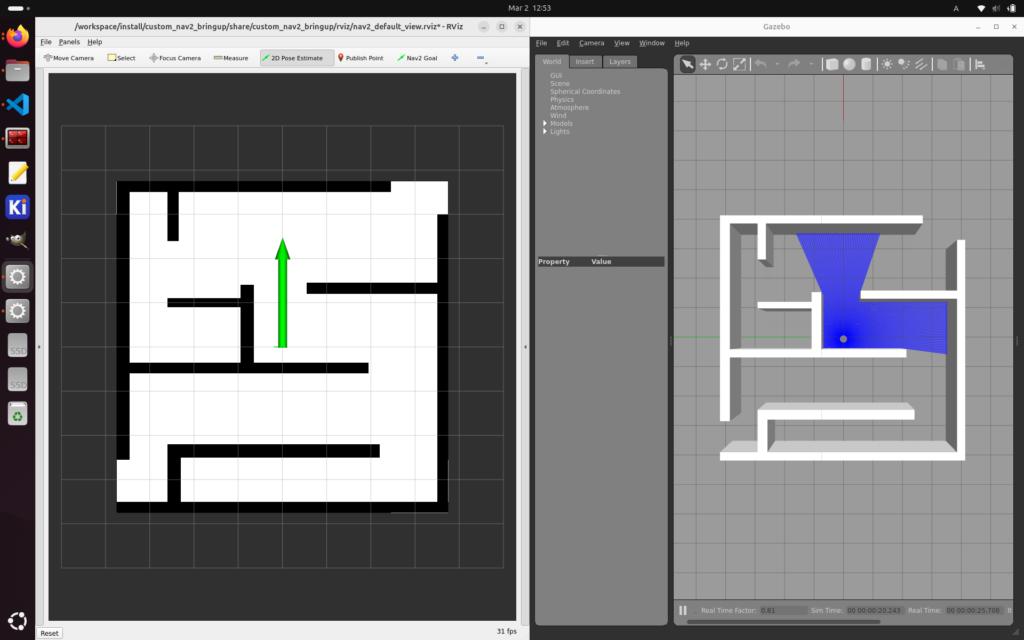
RViz の “2D Pose Estimate” でロボットの位置を Gazebo の位置と合わせます。
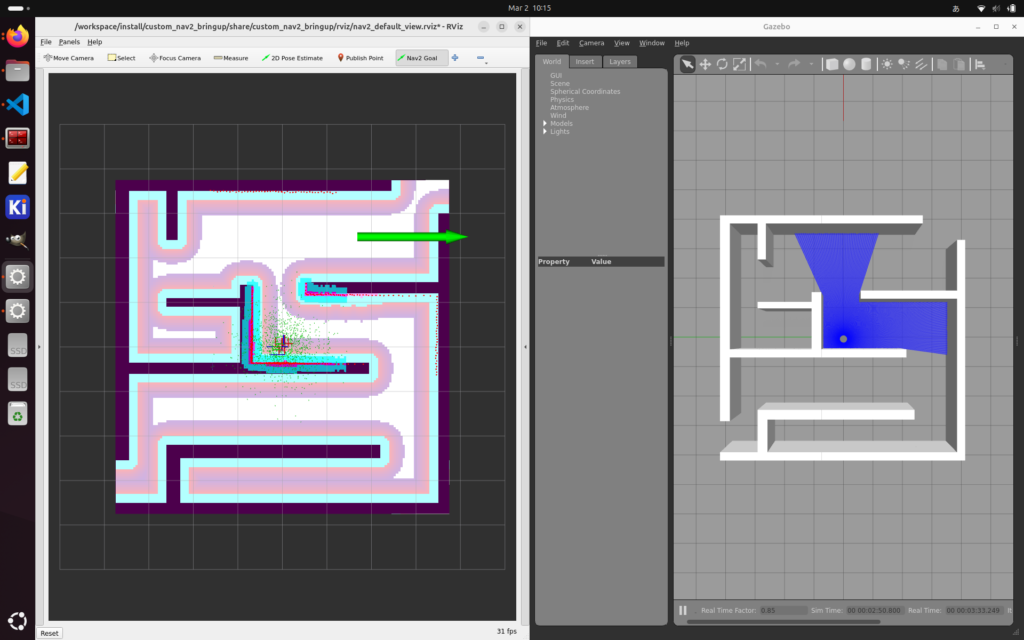
“Nav 2 Goal” でゴール地点を定めてロボットを移動させます。
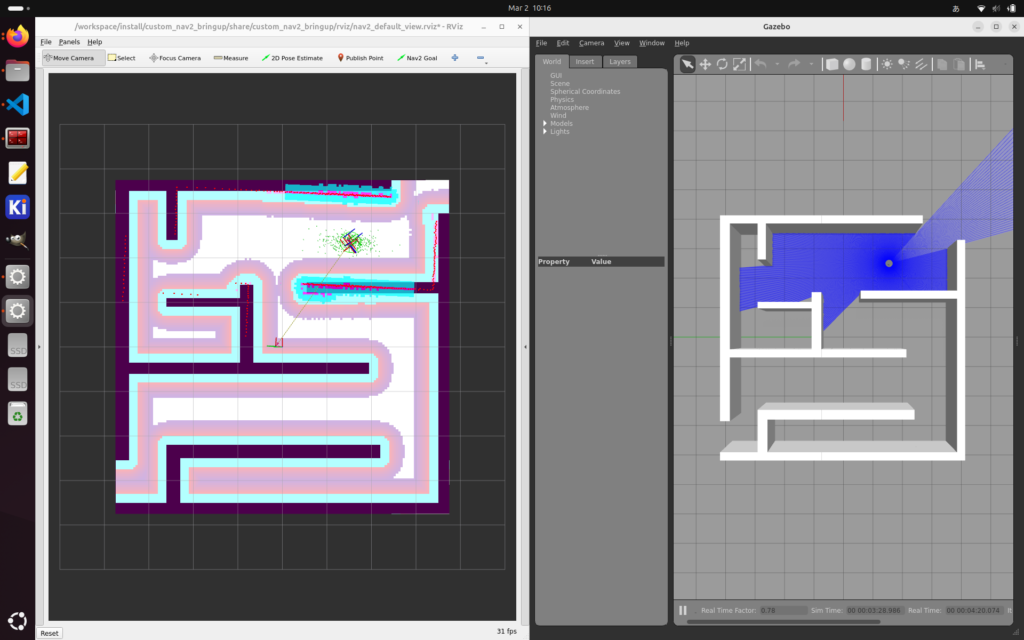
移動が完了しました。
操作画面のスクリーンキャプチャは以下です。
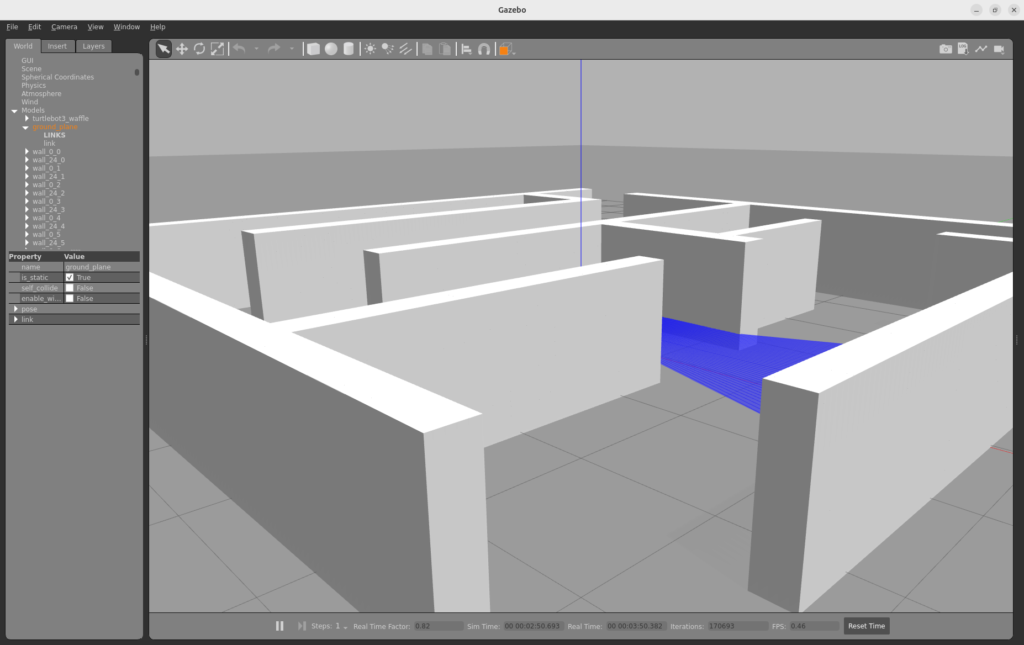
マップを立体的に見ると以下のようになります。白い部分が .world ファイルで指定した “壁” になっています。
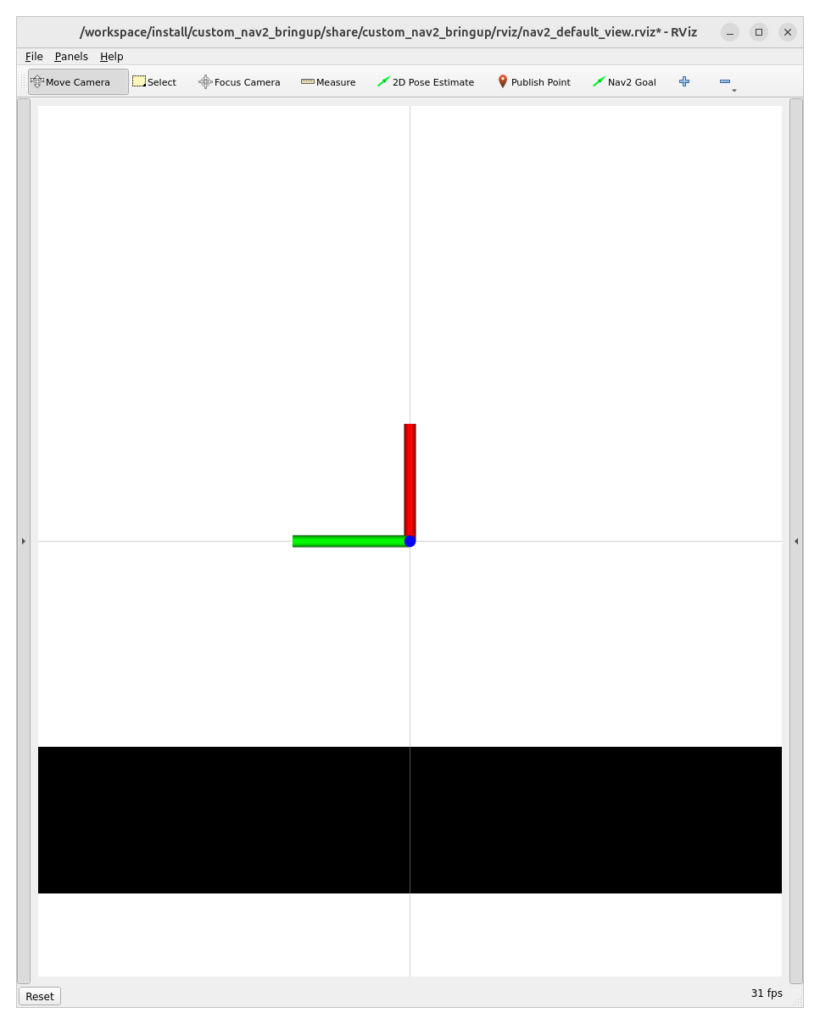
RViz の座標系は (x, y, z) = (赤, 緑, 青) の右手系で表されています(参考)。下の画像だと、x 軸が画面上、y 軸が画面左、z 軸が画面に向かってくる方向となります。
まとめ
自分で GIMP で作成したマップ上で TurtleBot シミュレーションが動くことを確認できました。ちょっと Gazebo の動作が遅いので、ここは今後の改善ポイントです(現在 .world ファイルが 10,000 行くらいあるのでこれを短くしていく必要があるかと思います)。


コメント